Installing buttons on clothes without a press 🥝 how to sew a stitch yourself
Accessories for clothes are its additional decoration and accessory. However, even expensive branded clothing is often equipped with poor-quality accessories. This applies to both buttons and clips, hooks and zippers. In order not to seek help at the studio, you need to learn how to work with various sewing accessories on your own. Installing buttons on clothes at home will not take much time, you can do this with a simple set of tools. Today we will tell you how to put a rivet on clothes at home using improvised materials and tools, thereby saving money by not buying a special press for installing buttons.
to contents ↑Types of fittings
Accessories for clothes include the following details:
- Buttons
- Hooks
- Hinges.
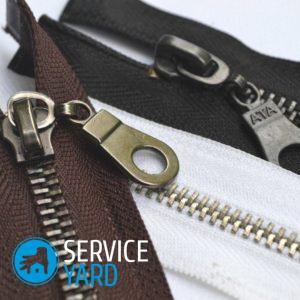
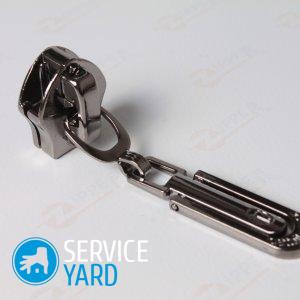
- Zippers.
- Blocks
- Sticky textile fasteners.
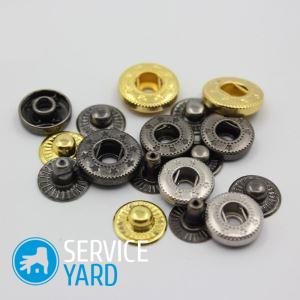
- Holnitens are metal rivets. Most often used in jeans to fasten stitches.
- Buckles
- Eyelets. Durable metal or plastic mounts are mainly used in leather products.
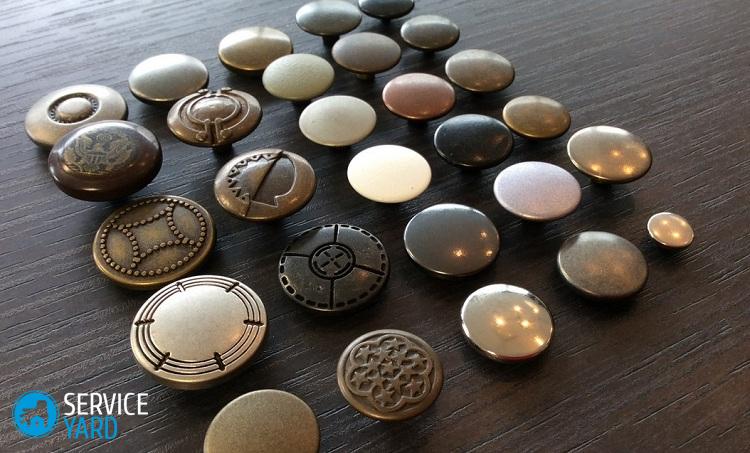
- Riveting. Distinguish utilitarian rivets - those that serve for clamps, fastening and fastening, and decorative. Very often, sewing accessories in clothes combine both roles.
Important! All types of fittings are made of different materials. Often their quality depends on how convenient and comfortable this or that thing will be worn. In addition, any hardware is designed torivet decorate clothes, even when it comes to such an ordinary detail as a button.
The most popular materials for the manufacture of fasteners and fasteners:
- Metal.
- Ceramics.
- Plastic.
Important! Most often, sewing accessories are made from a combination of these materials to combine practicality and beauty in a single part. Read a detailed review on what fastener is better to choose for a dress, skirt, jacket.
If the part is not correctly selected, that is, without taking into account the features of the fabric or leather, then the accessories simply can not cope with its functions. Then you have to independently change the details on the clothes, so as not to throw expensive things into the far corners of the wardrobe.
to contents ↑How to install a button on clothes at home?
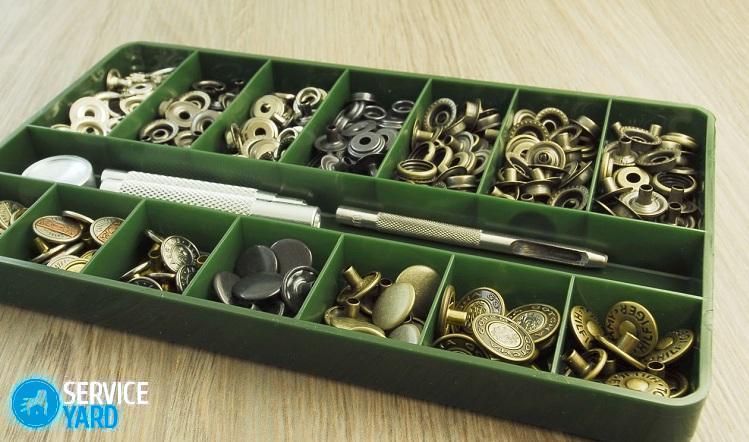
Of course, if you have the opportunity, then entrust the installation of accessories to the master, who has a special press, various accessories, a set of tools, and most importantly - experience, thanks to which such work will not take him much time. If you don’t have such an opportunity, or you want to find out yourself how to install the button on your clothes, then prepare the following tools:
- Awl.
- Hammer.
- Forceps.
- Punch. This tool will have to be purchased. It is necessary so that the hole turns out smooth, and the edges of the fabric do not crumble.
Important! You can purchase one punch (the smallest size), but it is better to buy a set of punch with removable nozzles.
- Anvil (or another hammer).
Advice:
- Do not cut a hole under the block with scissors, as over time a button or block will surely “fall out” of it.The hole for the button should be minimal, it is advisable to even slightly pull the fabric on the leg, as the denser the fabric is pressed against the part, the more secure it will be fixed.
- Punch a hole in the skin or fabric on a wooden anvil (not metal) so as not to damage the tip of the punch. The tree should be very dense (not loose). A plot with a knot will do. Other dense materials that can not damage the punch can also be used as anvils.
- The areas on knitted and bulk materials where holes will be punched can be glued with adhesive cloth so that the edges of the holes do not crumble. You can also process the edges of the hole with silicone glue.
Important! Do not start practicing fastening rivets immediately on expensive clothes, first practice on something cheaper.
Rivet installation process
It is necessary to work with tools carefully, slowly and without making sudden movements. Otherwise, the fabric, accessories or tool may be damaged.
The most common type of installation of accessories is the installation of a block on clothes. In workshops and ateliers, tongs are used for this procedure. However, such a tool must be bought in good quality so that the handles do not bend and the “cheeks” do not move.
Important! A sign of good and high-quality forceps are stiff handles that allow you to work quickly and easily.
Do not despair if there are no special forceps at hand, you can do without them at home. Use the following step-by-step instructions:
- Punch a hole with the required diameter in a textile or leather.
- Pass the leg block, put a ring on it.
- Lay a piece of clothing with a block on the anvil.
- Punch the block leg into petals. If all the steps are done correctly, then the petals themselves must be bent on the ring of the block.
- Walk the block lightly with a hammer to finally fix it on the fabric.
Important! Do not use great efforts when working with a hammer, otherwise - you can damage the fabric and bend the block on the front side.
When working, lay the ring on the convex side of yourself so that it repeats the convex shape of the edge of the block.
How to fasten buttons on clothes?
The most difficult process is the installation of rivets on a coarse cloth, from which outer clothing is often made. Difficulties accompany the installation of rivets on jeans. But if you use a good tool and follow all the technological steps, then you will probably succeed in securing the button on the clothes.
Important! The easiest way to install four-piece buttons on jackets, coats, and windcheaters is to snap-in using the ring located on the top of the button.
You will need the same tool as when installing the block. Sometimes, for this type of buttons, special punches are included, but using them is inefficient. It is much more convenient to use a punch that splits the leg into petals.
To rivet a jacket or other outerwear, proceed as follows:
- Unfold the foot of the four-part button above and below.
- Perform the standard riveting process (described above).
to contents ↑Important! If you often have to install accessories on clothes, then purchase several types of dowels in a hardware store (a construction nail with a wide hat that is impossible to bend). Dull several dowels of different thicknesses. A building nail copes with the process of expanding the rivet legs, especially if it is very difficult to get close to them, for example, when installing a jeans button.
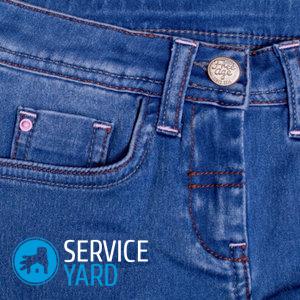
How to put a jeans button?
To install the simplest button on jeans, proceed as follows:
- Pierce with an awl a hole in the belt of your trousers.
- Insert the button leg into the hole.
- Place the button on the anvil (on a metal surface) and hammer the leg with a hammer.It is the leg, and not the button, otherwise - you will damage the decorative element.
Important! When buying a jeans button, get a kit with a leg that has been cut. Such a leg will be held firmly inside the button, but a smooth leg can “pop out” with time under load.
Important! To install a button of a more complex design, the leg of which will move freely, you will need a dowel cut on an emery, since the leg of such a button will need to be flared on the button itself.
Read also the separate detailed material on the different types of fasteners that are used for jeans clothes, and how how to put a button on jeans.
Step-by-step instructions on how to install buttons on clothes at home:
- Pass the button leg into the belt.
- Install a button on the shaft.
- Assess how much the leg comes out of the button. If necessary, “bite off” the edge of the part with pliers. Otherwise, the leg will bend and it will be impossible to expand.
- Set the button on the anvil.
- Install the dowel in the center of the button leg, with a light tapping of the hammer, expand the leg until it shrinks tightly with the cap body.
to contents ↑Important! Be careful not to damage the decorative surface of the hardware.
How to assemble a mustache button for clothes?
In about the same way as a jeans button, a button on the mustache type clothes is installed. With the only difference - all manipulations need to be carried out only for the upper part of the button.
The bottom of the part is much easier to assemble:
- To install it, you can buy in the store a special tool with a recess inside.
- If you don’t have such a tool, then you can use a metal plate with a hole similar to the size of a “pimple”. The bottom of the button must be inserted into the hole in the metal plate, and the foot should be “slammed” with a hammer on the back of the clothes.
Important! It’s quite difficult to put a mustache button without special tools, so buy them a little more than required.
Advice:
- If for some reason the buttons are not installed correctly, then remove them and install new ones. Do not use damaged buttons, as they will not hold securely; a replacement is needed.
- To install the button on clothes at home, you can use the tools at hand: a Phillips screwdriver, a bolt, a thick nail, a dowel. To expand the cylindrical part of the button, you can use any cone-shaped device, and then with a suitable bolt (cylindrical rod) in diameter, expand the button bar completely.
- Install the button on a smooth wooden surface, but be extremely careful not to break the button or destroy it.
- To install the bottom of the button, you can use a wooden block if there is no suitable metal object with the desired hole. Make a recess in the wooden block with a drill (the diameter and depth should correspond to the “dad” part). Assemble the bottom of the button and lay the bar on top. Tap the part with a hammer.
to contents ↑Important! If you decide to start thoroughly practicing sewing clothes with your own hands, our articles will be useful to you:
How to change the rivet on the jacket with your own hands?
To rivet correctly, then remove and replace, attach and fix a new rivet is a matter of certain skill and skill. However, in order to set carefully and perform all technological manipulations, it is necessary to acquire a set of special tools. Even removing the rivet requires as much care and accuracy as installing it, especially if you plan to use the removed hardware in the future. In this case, without a special device, equipment and dexterity at home, removing accessories without damaging the rivet and the fabric adjacent to it will fail.
If you do not plan to use the accessories in the future, then it’s enough to “cut” the rivet head with a hammer, anvil or knife, and then install new accessories, as described above.
Important! You may also find useful information on what to do if the hooks on the fur coat are unfastened.
to contents ↑Stock footage
Rivets for clothes - inconspicuous, but irreplaceable details of every thing, starting from fur coats, sheepskin coats, jackets and ending with underwear. If you learn to work with a variety of sewing accessories, you can always repair any decorative elements without resorting to the services of a master. We hope that our tips and tricks will help you in this process!
 (No ratings yet)